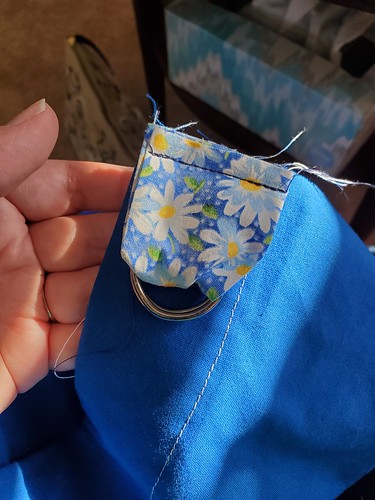
And now for something completely different.

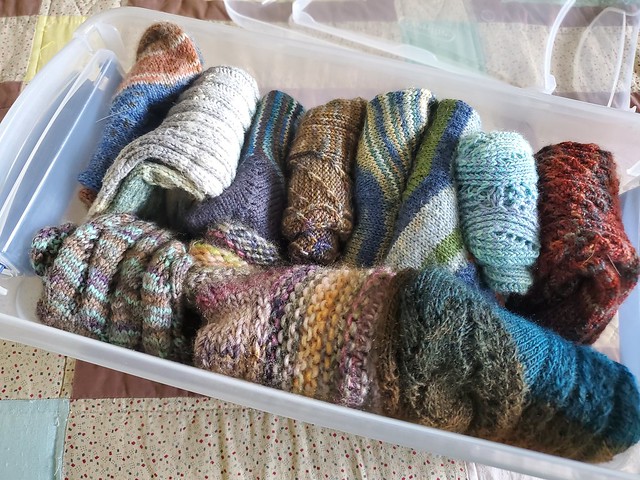
In the interim between knitting a boatload of socks and the world attempting to right itself, Dan and I decided to take on a little project where we changed over one of our empty rooms (previously masquerading as a guest room but unfortunately serving as a lazy storage room) into a craft room. Pictures of that process later, I promise, as I am beyond elated at how it turned out.
As a part of that process, I made myself go through my knitting books and my yarn and tool stash to give away things I didn’t use anymore and to organize things better. During that process, I found this.

Back when I lived in Colorado, I used to work at a yarn store with some truly amazing coworkers and a horrible monster as a boss. (That fact is unrelated, but I just felt the need to reiterate just how awful of a person she was.) While I was there, we had a really interesting day when a representative from Skacel Yarns, of Addi Needle fame, came and demonstrated their new (at the time) product called Artfelt. It was a system for needle/machine felting that included some really vibrantly-dyed pencil and standard roving, which is normally used to spin yarn. However, with this special sort of paper, kind of similar to dryer sheets, you could needle-felt your own designs, and shrink them in the dryer, ending up with thin, delicate sheets of felted wool fabric that you could drape or sew with, rather than the big bulky felt purses and bags that were popular at the time. Like Shrinky Dinks for yarn!
I helped the instructor demo the project and really enjoyed myself, so I made sure that I bought a kit. And then, in true crafty-person fashion, I stuffed it in a basket and forgot about it for 12-ish years.

This age became very apparent when I tried to take the directions out and they ended up being permanently fused to the plastic kit bag, due to multiple housing moves and now nearly 10 years in New Orleans humidity.

I was determined to take this horrible continuing pandemic and hurricane-filled month of August and make this damn thing, so I pieced together what I could and went with it.

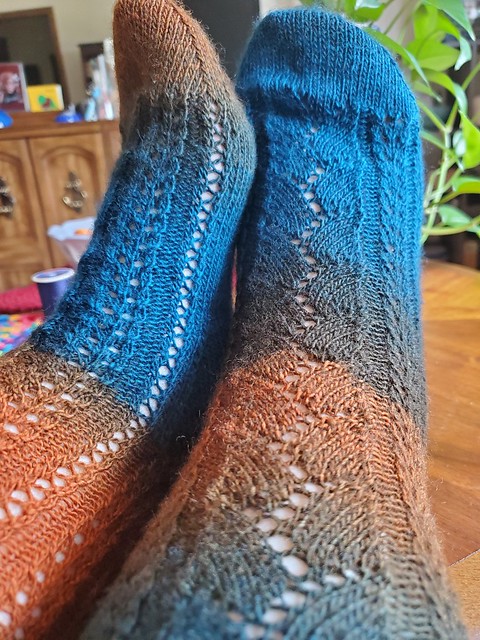
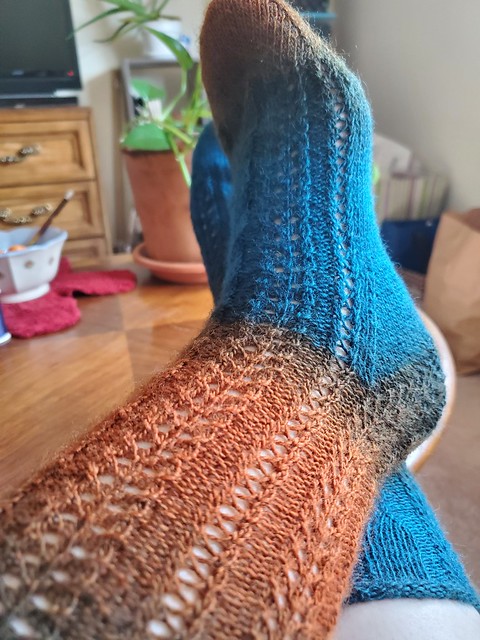
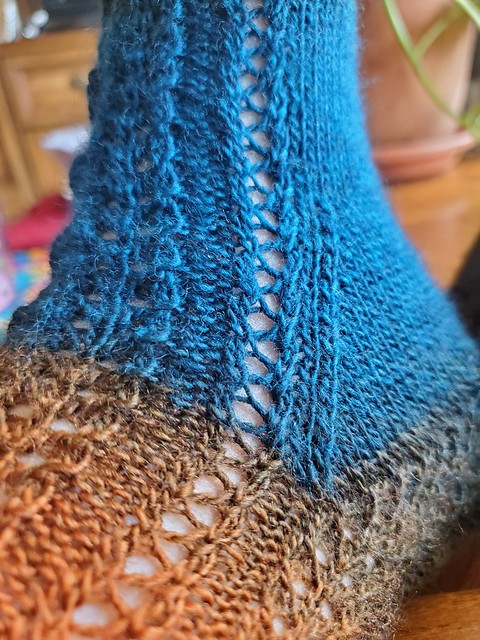
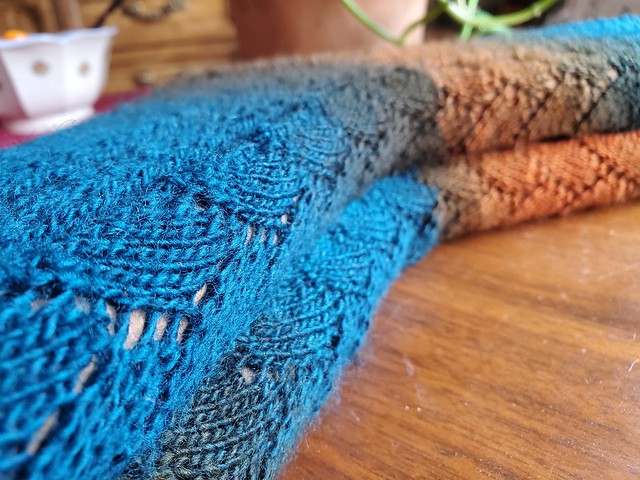
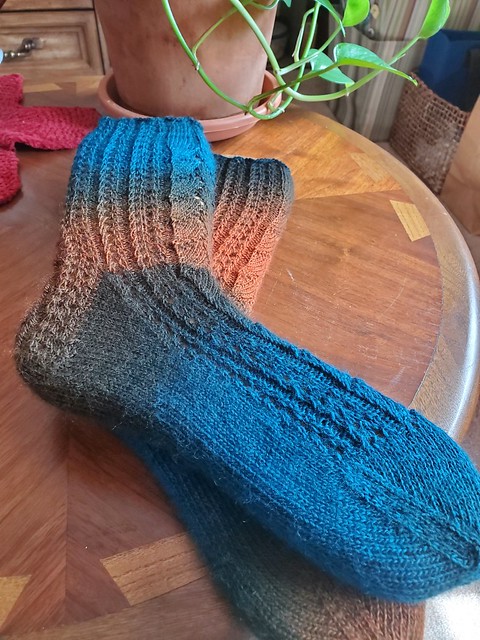
There, much better.
The kit that I had was called the Silk Scarf Kit, in the colorway Scotland. Of course, this kit no longer seems to be available on the Skacel Artfelt website, but if you wanted to put together something similar, they still seem to have all of the elements available. You’d just need the Artfelt paper, felting needles, the tack board (or any kind of protective squishy surface), any kind of ribbon you want (the actual skein is pictured below), and the multicolored standard roving and pencil roving in the colorway Cobblestone.

Onto the making. First things first, the paper was behaving as though it had been crumpled up in a tube for 12 years (funny, that), so it needed a day to flatten out.

After the paper was behaving properly, I marked out 1.5″ intervals until I got to 72″ long and drew out straight lines at the marks, copying them later with permanent marker because they get very difficult to see once there’s a bunch of wool on top of them.


Then, I had to cut 96 pieces of pencil roving 10″ long. I ended up doing a few more than that because I wanted a bunch of color variation throughout the whole thing, and you end up with plenty of pencil roving left over.

Then, you lay out those pencil roving strips onto the lines you created, place the whole thing on the tack board (or any kind of thick piece of foam, felt, or towel so that you don’t stab yourself or your floor because felting needles are the sharpest things on the planet), and stab it repeatedly.

Just so much stabbing.
Really, you are just trying to get the wool to stay in place on the paper. If you can lift the paper and the wool roving stays put, you’re good, so no need to overstab.

After all of that stabbing is done, you get to mess around with this beautiful stuff. Seta-Moda is a 100% silk ribbon with gorgeous shine and saturated colors.

Really, you can use any ribbon or accent yarn that you want, just as long as it doesn’t have wool in it, so it won’t felt together and blend into the background.

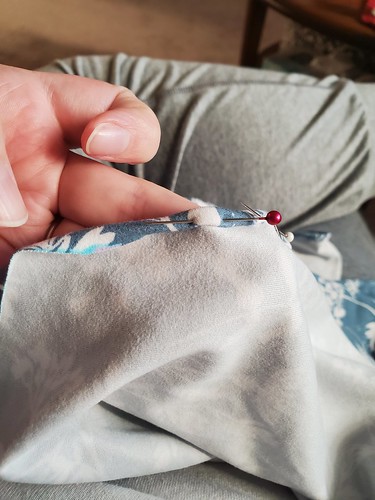
I cut 11 long strips of the silk, and laid 6 of them across the top of the work, pinned in place on the tack board so that they wouldn’t slide around too much.

Now here comes the meat of the scarf. (Gross.) You take your standard roving and pull it apart, giving yourself light and transparent handfuls of wool.

Then, you sort of…paint with it, covering the lines with broad swathes of color.

After that, you add the remaining 5 pieces of silk in the same manner, in-between the ones you did before so they aren’t right on top of each other.

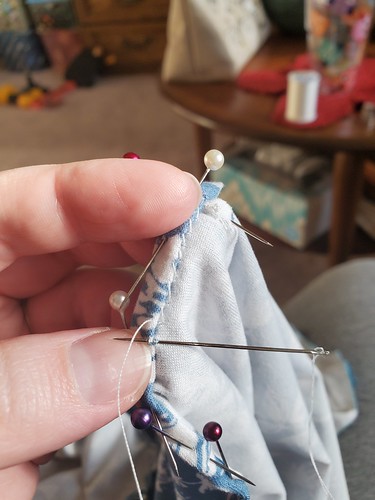
Then, you put pencil roving pieces down right exactly on top of the previous row, and the stabbing begins again!

It’s kind of hard to see here, but those little tufts poking through the back of the paper are the result of the stabbings, keeping the whole thing together on the paper. When you pull it off of the tack board, it also makes this extremely delightful soft and sticky sound that made my ASMR-loving self super happy.

Part of the goal is to keep the entire thing covered with wool, but still transparent enough to see all of the layers underneath, because you do not want to stab the silk ribbons in all of your stabbing adventures.

I definitely got better at this as I went along, as it took some practice.

Unfortunately, as soon as I felt like I knew what I was doing, it was all done.
All of that make sense? Great. Now comes the really wild stuff.

After the stabbings are complete, you throw the whole thing in the bathtub and wet it thoroughly. It needs to be saturated.

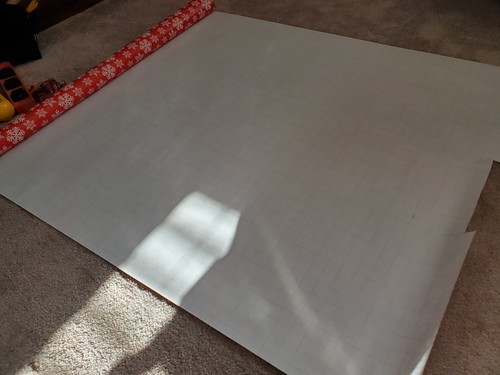
Then, you lay it out on this giant piece of plastic that comes with the paper…

…you roll it up into a strange wool-silk-dryer sheet-plastic hot dog…

…you shove it into an old pair of stockings or leggings (bright turquoise is best, of course), and then you put it by itself into a pre-heated dryer.
Mine clanged around in there for nearly 30 minutes until this came out.

Looking slightly smaller, wrinklier, and…feltier? You basically just want it to felt enough to make sure that the layers are stuck to each other, not dense enough to get something that feels like a hockey puck.

The instructions said that if it was done correctly, the paper would be wrinkled in the back, so I think we were perfect.
Now for the boiling. You’d think that after I complained so much about my fingers hurting after making all of those socks, I’d be less inclined to do a project that exclusively involves fingertip-mangling sharp needles and boiling water. Nope.

You boil a whole bunch of water and then try to transfer it to your bathroom without giving yourself 3rd degree burns.

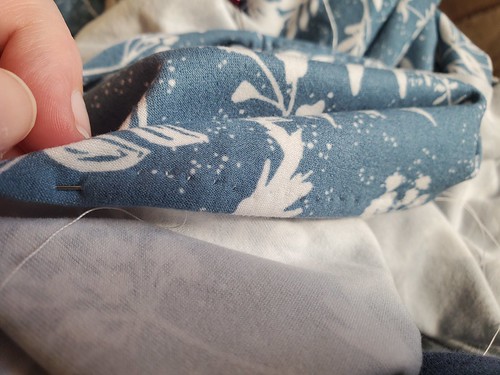
Then, you pour it all over the scarf, paper-side up I assumed, and the magic Artfelt paper magically dissolves away. It was actually pretty cool.

I did end up with a few leftover bits, so I needed to hit it again strategically with the boiling water, but otherwise it went pretty smoothly.

Then, I squeezed out all of the water and gave it a very quick once-over with an iron on low heat, just to make sure everything was sticking down properly.

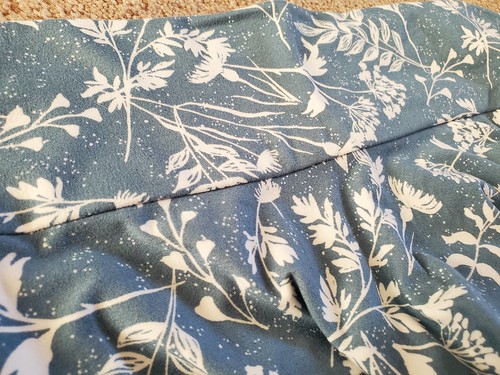
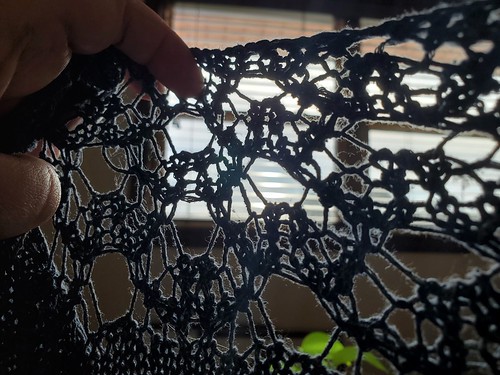
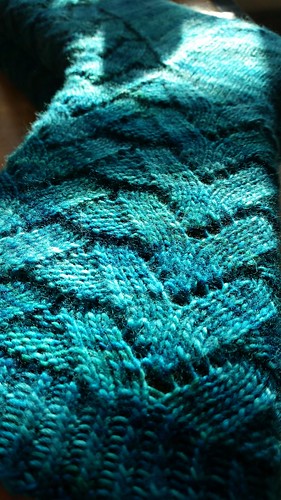
And here she is.
And I am underwhelmed.

It really is very cool that you can get such a delicate, thin woolen fabric using this technique, as it drapes very nicely and feels very soft.

However, I feel like the colors that were so rich and vibrant, in both the silk and the wool, are now sort of flat and dull in their felted state. And the wrinkling?

After seeing how lovely it was in its pre-felted state, the wrinkling just detracts so much from the original geometric pattern. Why on earth did I need to be so careful and exact with my lines and my stabbings if it was just going to wiggle out of shape as it shrank?

Nevertheless, it was really fun to make and it was wonderful learning a new technique (that I might never do again, but oh well), plus the colors do look nice even though they are a shadow of their former selves. I’m not sure if I should keep this for myself or if I should give it to my mom or some other other older-type lady who might really love it.
I’m torn. But at least I got to spend a good chunk of time where I wasn’t alone with my thoughts of this broken world, which was a plus.
Stay tuned for another long-overdue project completion, coming soon.